
Architecture Overview
Introduction
Setup
Presenting products
Understanding prices
Managing checkout
Saleor CLI
ISR for E-Commerce
Real-time Search with Typesense
Deploy your Saleor App to Netlify with Github
MINIMUM SALEOR VERSION
3.5.10
MINIMUM SALEOR CLI VERSION
1.13
This tutorial will guide you through the process of deploying your Saleor App to Netlify, another popular platform, which provides various tools and features for automating web projects. You can read more about Netlify in the Technologies section.
Prerequisites
- Install
saleor CLIwithnpm i -g saleor. - Establish your organisation and environment.
- Create a Saleor App template. More on that here.
- Set up a remote Git repository for your App at GitHub.com. More on that here.
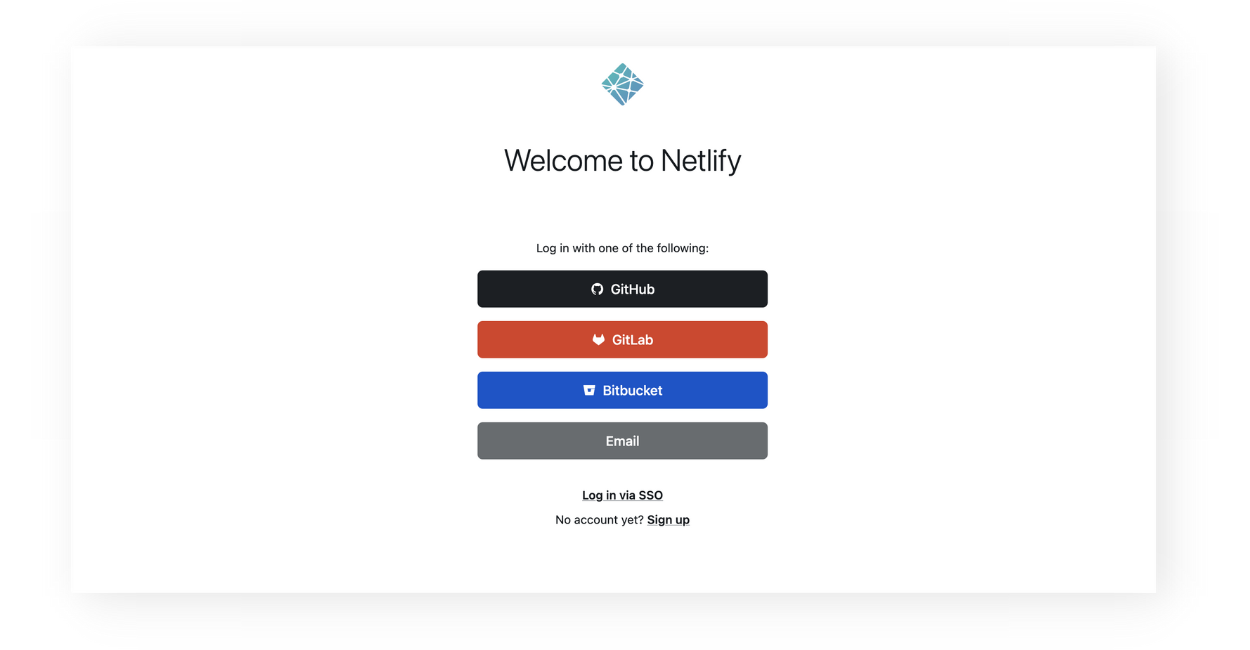
Step 1. Registering to Netlify.
Registering or logging into Netlify is possible through one of the providers listed at their site. For the purpose of this tutorial, let's use GitHub.
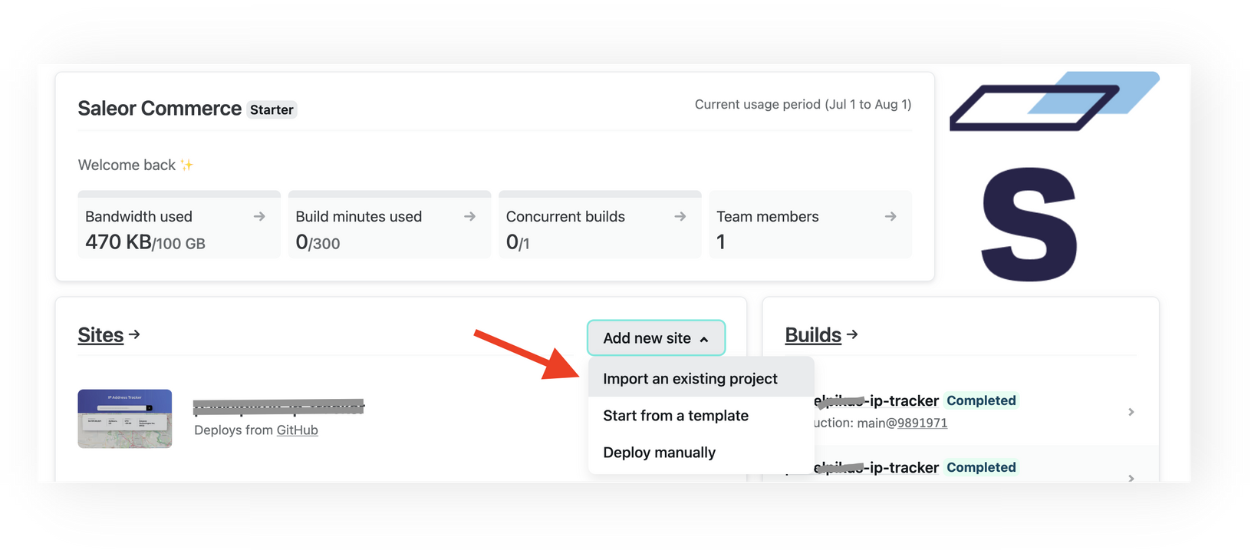
Step 2. Creating a project.
Once logged in, you will be redirected to your dashboard. Here, click Add new site and select Import an existing project.
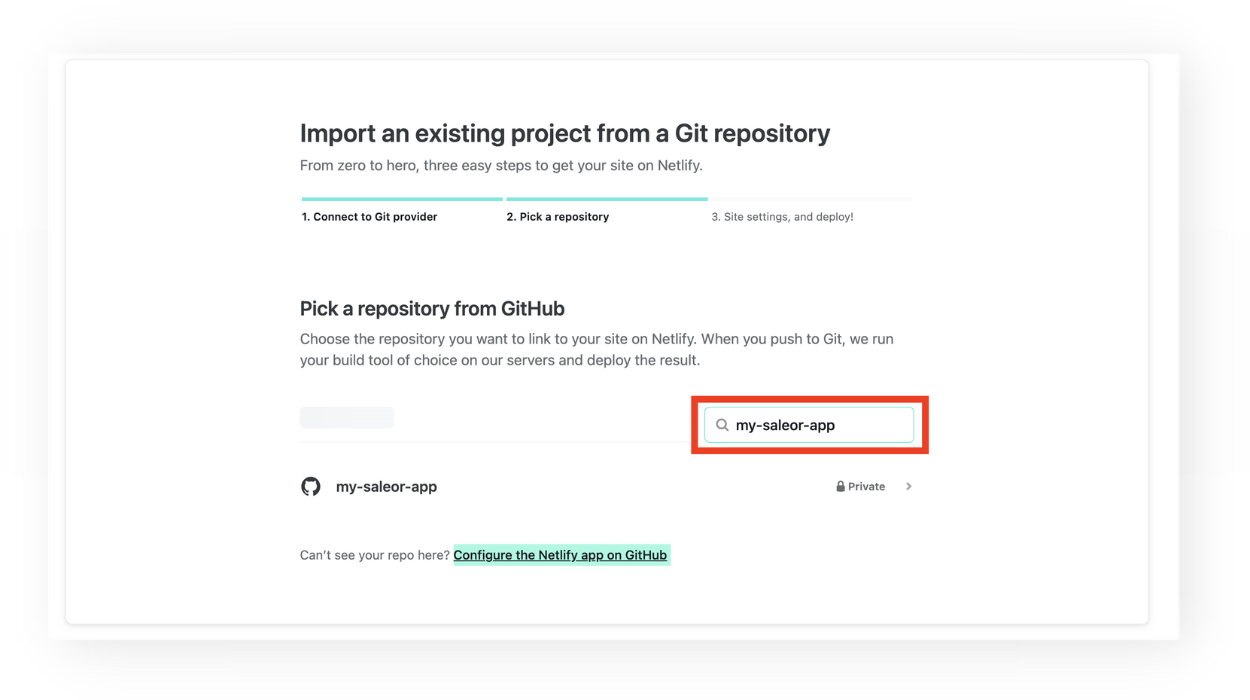
Step 3. Connecting to Git provider.
- Connect to Git provider.
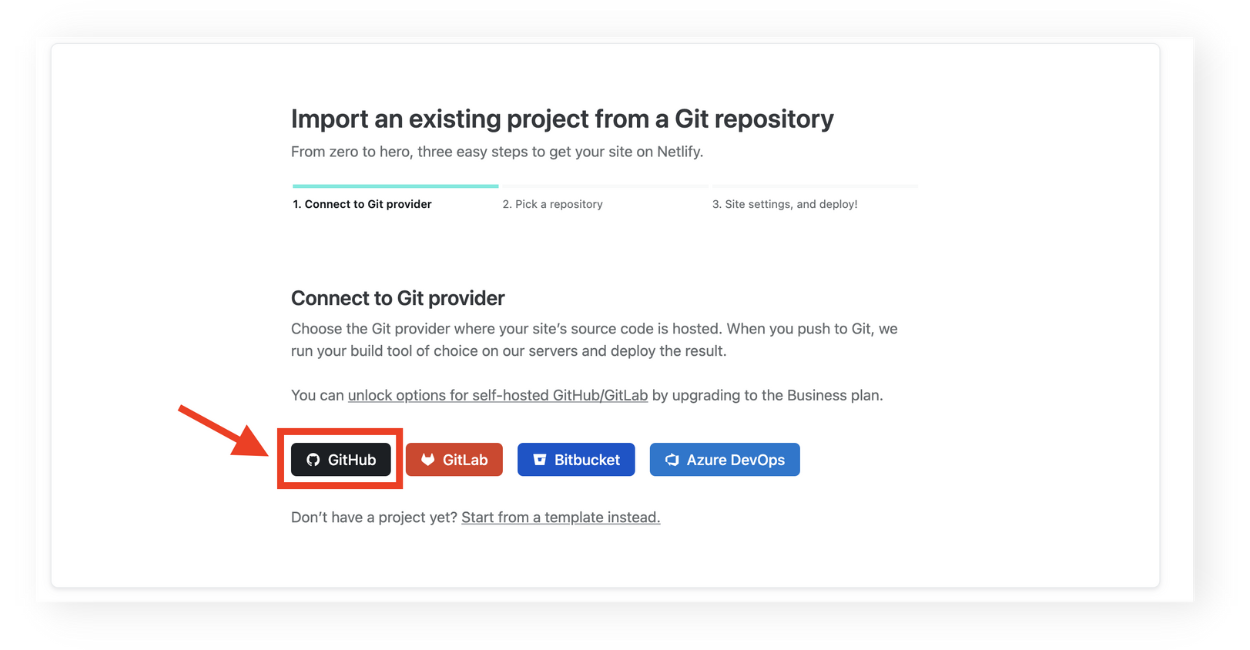
- Search and select your app repository from the list. If you don't see the list, click on Configure the Netlify app on GitHub link below and allow all / chosen repositories to be managed by Netlify.
Step 4. Preparing your App for deployment.
- On the next page, change the build command to:
npx pnpm i --store=node_modules/.pnpm-store && npx pnpm run build
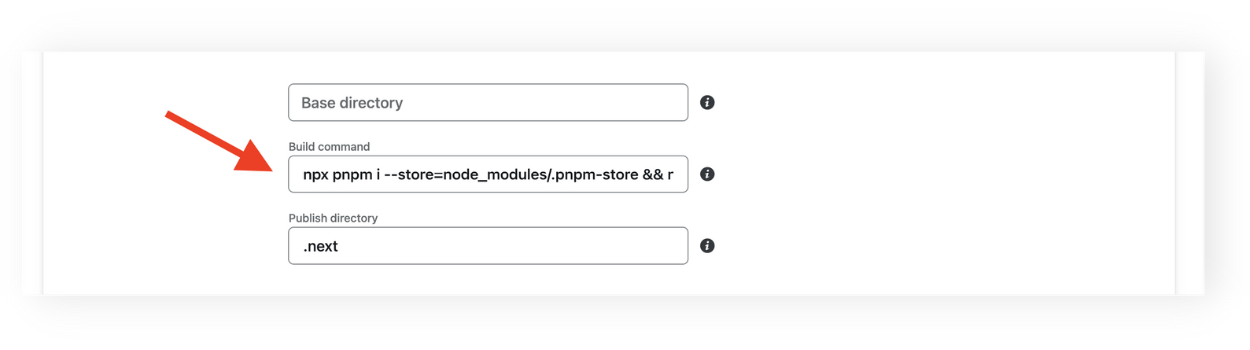
Netlify's build environment does not support pnpm out of the box. So, with this command we will kindly ask Netlify to use npx to install pnpm in the node_modules folder and run the build script with it.
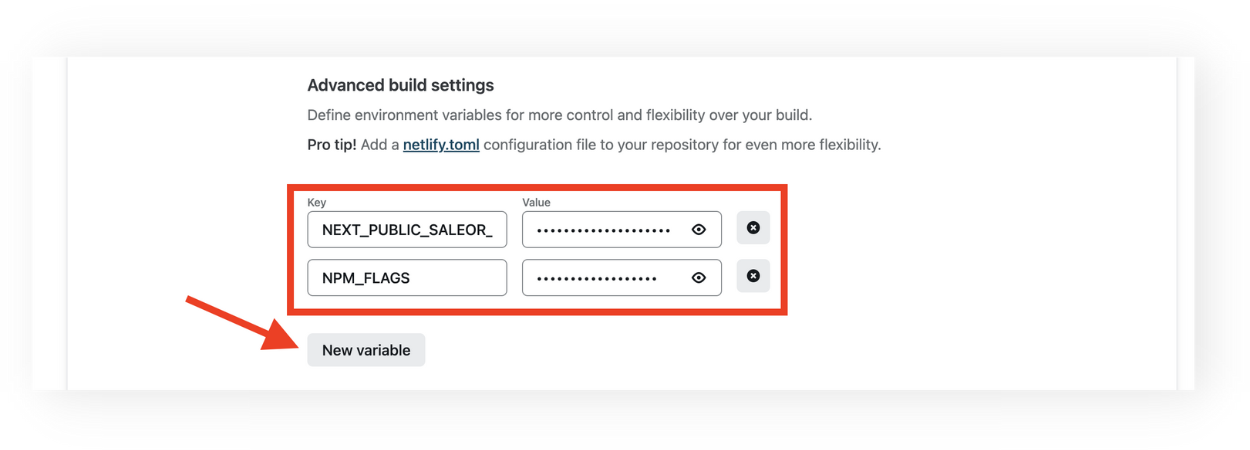
- In the Advanced settings, add two new variables:
NEXT_PUBLIC_SALEOR_HOST_URL, take the value from.envfile of your appNPM_FLAGS, set the value to--legacy-peer-deps.
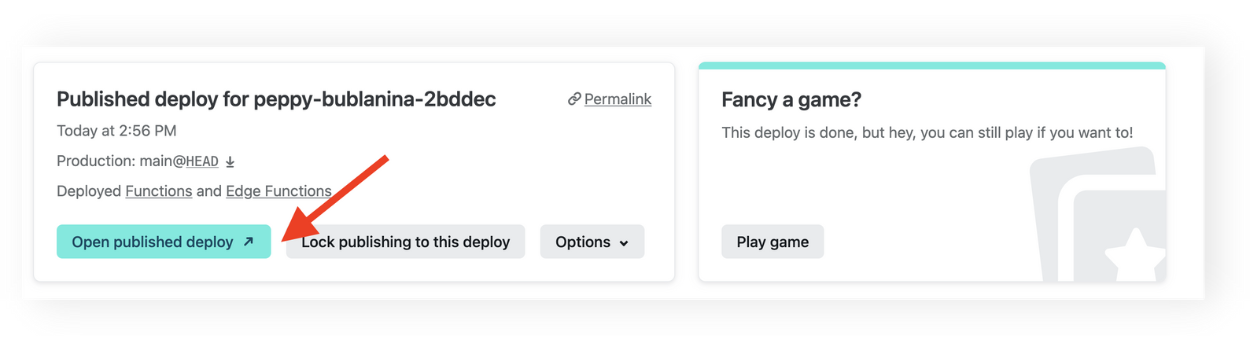
- Hit Deploy site.
After a while, you will have your site live, which you can check by clicking Open published deploy button in the dashboard.
You can use the url of your deployed App in the process of i.e. App installation as described in Creating Apps with Saleor CLI.